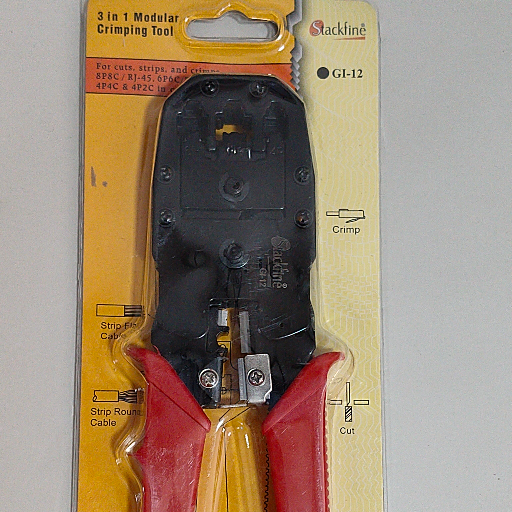
3 in 1 Crimping Tool RJ45 & RJ11 Network Cutter
This 3 in 1 crimping tool RJ45 & RJ11 is a must-have for DIY enthusiasts, offering versatility and efficiency for all your networking needs.
₹354
Product Details
This 3 in 1 crimping tool RJ45 & RJ11 is designed for users who want a reliable, all-in-one solution for network cable installation and repair. Ideal for home users, small offices, IT technicians and DIY networking projects, it combines crimping, cutting and stripping functions in a single compact tool. Hardened steel jaws ensure secure terminations on RJ45 and RJ11 connectors, while the non-slip handle provides comfort during extended use. Perfect for creating custom Ethernet and telephone cables, it reduces clutter in your toolkit and speeds up setup time. Whether you are upgrading routers, extending lines or organizing cabling, this tool delivers consistent, professional results at 795A Edayar Street, Coimbatore, Tamil Nadu, 641001.
Features & Benefits
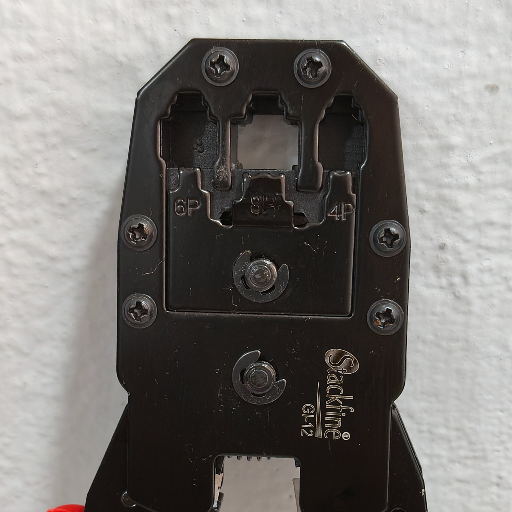
Three functions in one compact hand tool
Crimps both RJ45 and RJ11 connectors securely
Integrated cutter for clean cable trimming
Built-in stripper for quick cable preparation
Ergonomic, non-slip handle reduces hand fatigue
Durable steel construction for long-lasting performance
Crimps both RJ45 and RJ11 connectors securely
Integrated cutter for clean cable trimming
Built-in stripper for quick cable preparation
Ergonomic, non-slip handle reduces hand fatigue
Durable steel construction for long-lasting performance
How to Use
Prepare the cable and measure the required length. Use the built-in cutter to trim the cable cleanly. Insert the cable into the stripper slot and rotate to remove outer insulation. Arrange wires according to your chosen wiring standard, then insert into RJ45 or RJ11 connector. Place connector into the crimping slot and squeeze handles firmly until fully crimped. Gently pull to check the connection, then repeat for the other end if needed.
A 3 in 1 crimping tool RJ45 & RJ11 is used to create and repair network and telephone cables. It lets you cut, strip and crimp cable into RJ45 Ethernet and RJ11 telephone connectors with one tool, making custom cable lengths easy for home, office or IT use.
Yes, a 3 in 1 crimping tool RJ45 & RJ11 is designed with separate crimping slots for each connector type. You can terminate Ethernet cables with RJ45 and telephone cables with RJ11 using the same tool, saving space in your toolkit and simplifying cable installation jobs.
A 3 in 1 crimping tool RJ45 & RJ11 is beginner-friendly because it combines cutting, stripping and crimping in one device. Clear, labeled sections and an ergonomic handle make it easier to learn proper cable preparation and termination, even if you are new to DIY networking or home cabling.
No, you usually do not need a separate wire stripper when using a 3 in 1 crimping tool RJ45 & RJ11. It includes a built-in stripper that removes cable insulation safely. This reduces extra tools, speeds up your workflow and helps ensure consistent cable preparation for reliable terminations.
To maintain a 3 in 1 crimping tool RJ45 & RJ11, wipe it clean after use and store it in a dry place. Occasionally apply a light machine oil to the pivot points, avoid cutting hardened materials, and check the jaws for damage. Proper care ensures accurate crimps and extends tool lifespan.


 08:00 AM - 08:30 AM, Thursday, Nov 24, 2024
 Indian Standard Time
 Shahanab